Midjourney学习手册-(1)注册篇(01图文注册)
一、注册篇
以下简称“MJ”,官方地址: https://www.midjourney.com/home/MJ中国与腾讯QQ合作推出QQ频道,但需先开通QQ频道内测资格新用户有25张图片的免费使用额度,之后需要开通付费会员。版权相关: 付费会员生成的图片版权归创作者所有。
1、图文注册指南
1) 注册、创建服务器
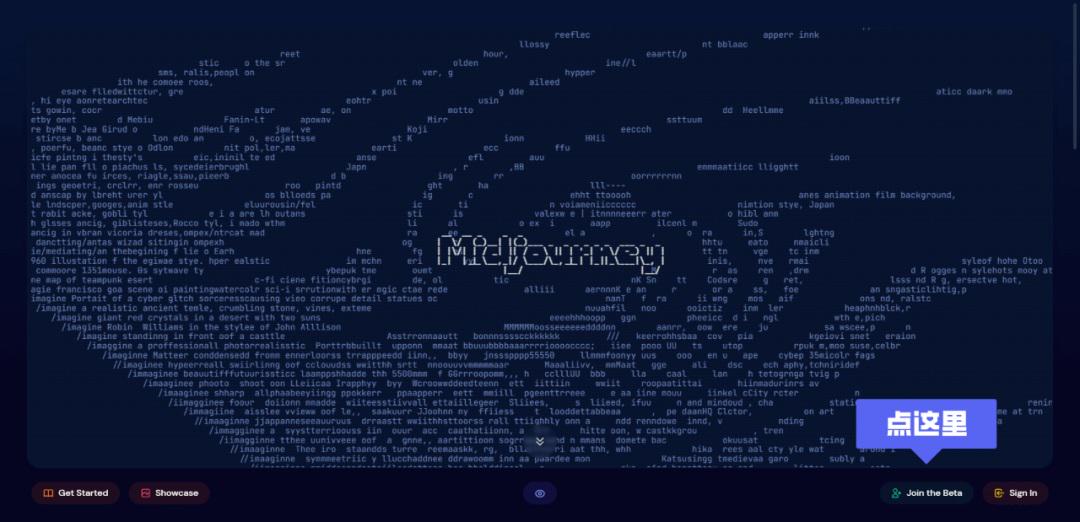
①打开Midjourney官网,右下角选择"Join the Beta"按钮,页面会跳转到"Discord"服务器
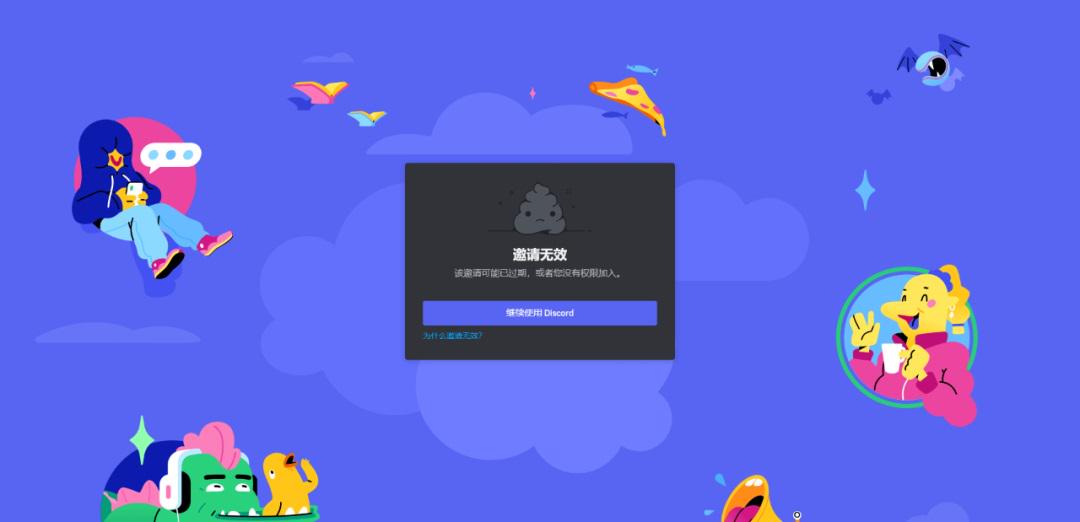
页面如果显示邀请无效无需理会,直接点击"继续使用 Discord"按钮即可
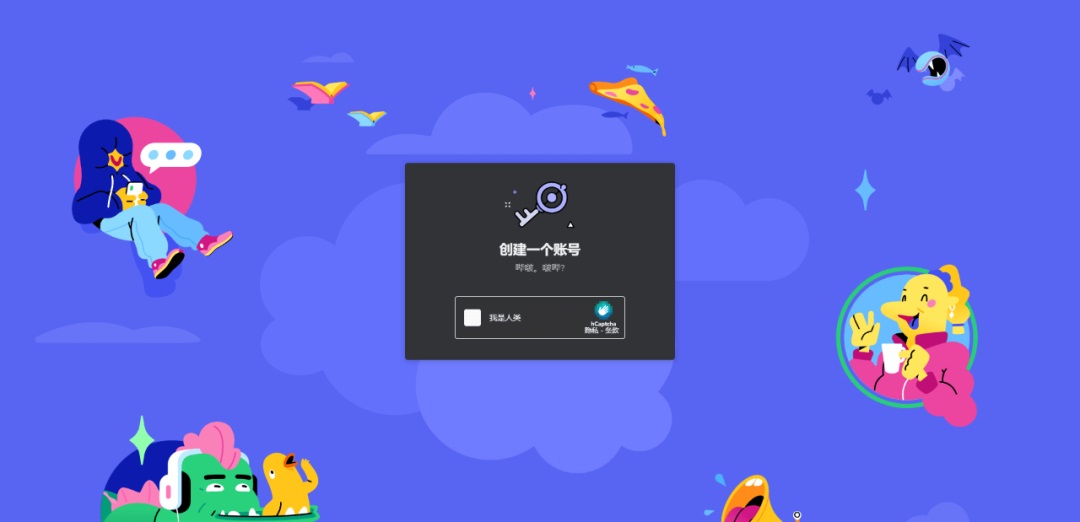
②跳转到登录页面,点击左下角的注册按钮,依次完成注册及验证
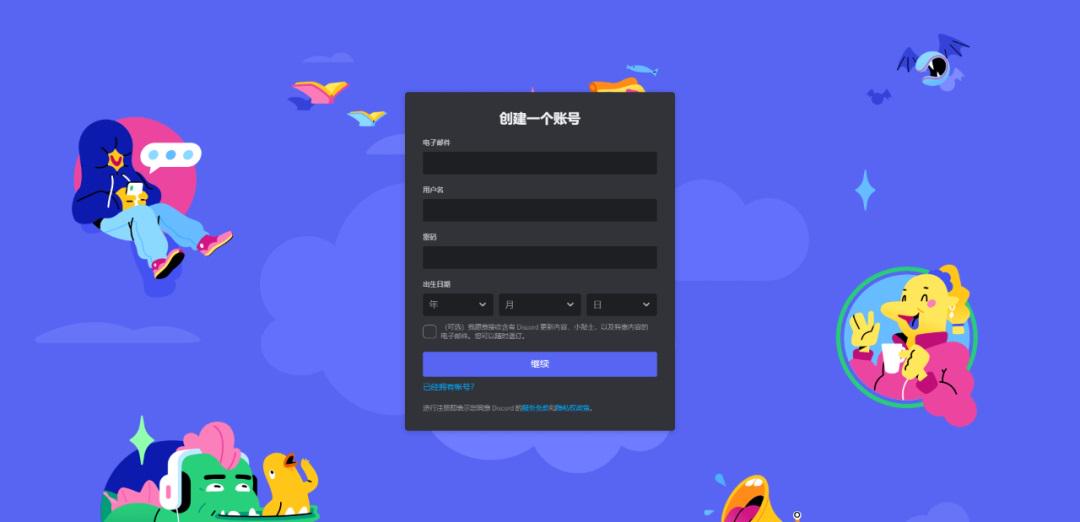
国内邮箱也可以
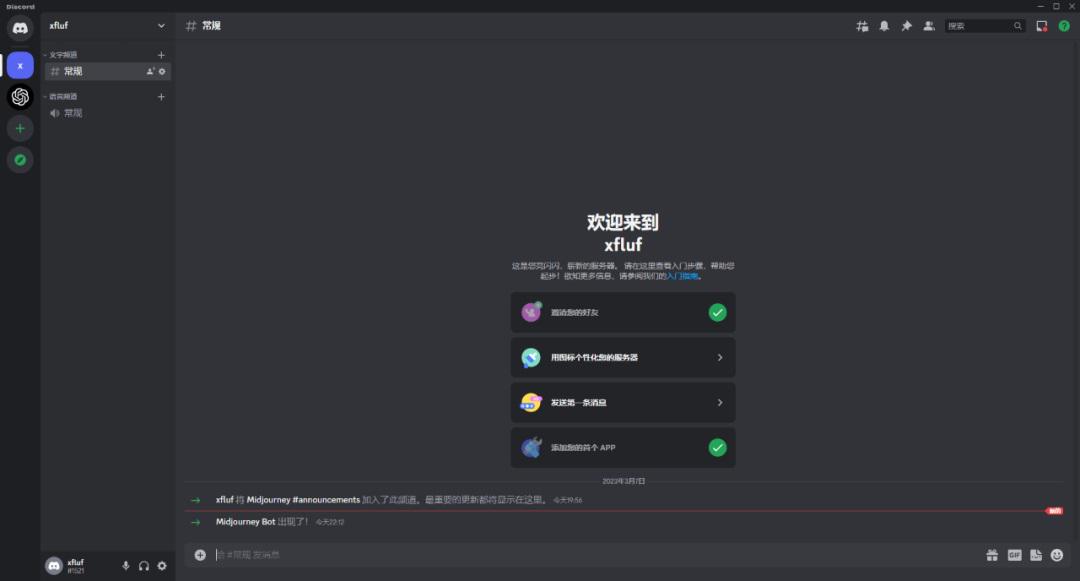
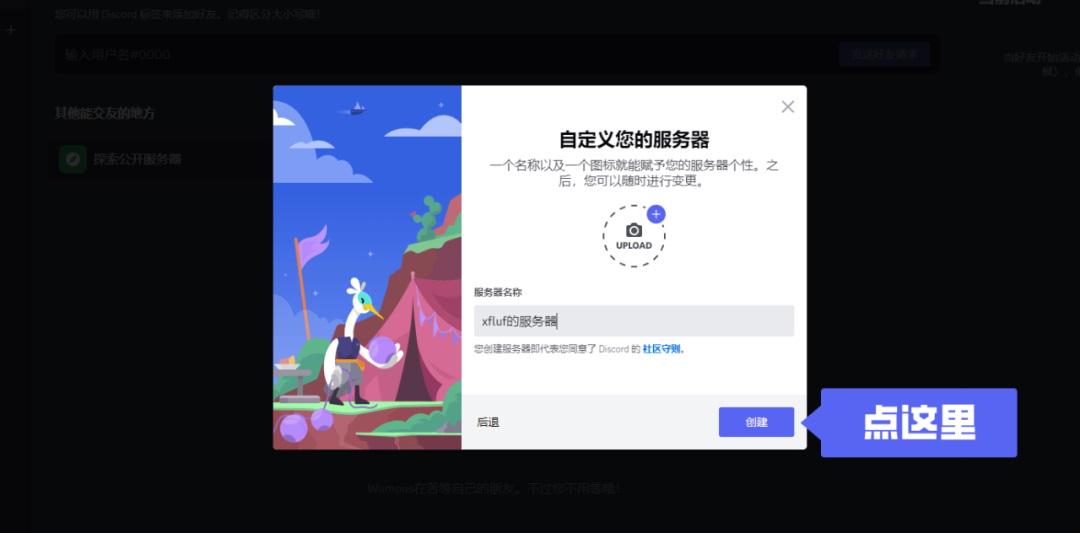
③验证完成后会跳转到Discord首页,并让我们建立属于自己的Discord服务器,依次选择: 亲自创建一一仅供我和我的朋友使用一一输入服务器名称一一点击创建
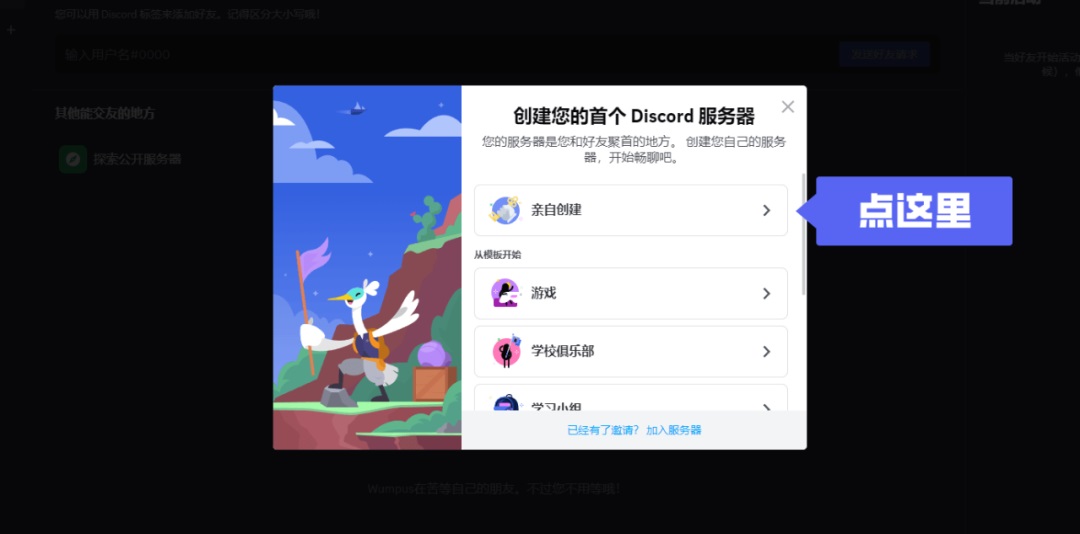


如果跳过了创建,之后可以在侧边栏里点击加号进行个人服务器创建
④创建完个人服务器后,要到之前留的邮箱里进行验证;验证完成后会跳转到成功页面,点击"继续使用Discord"按钮即可

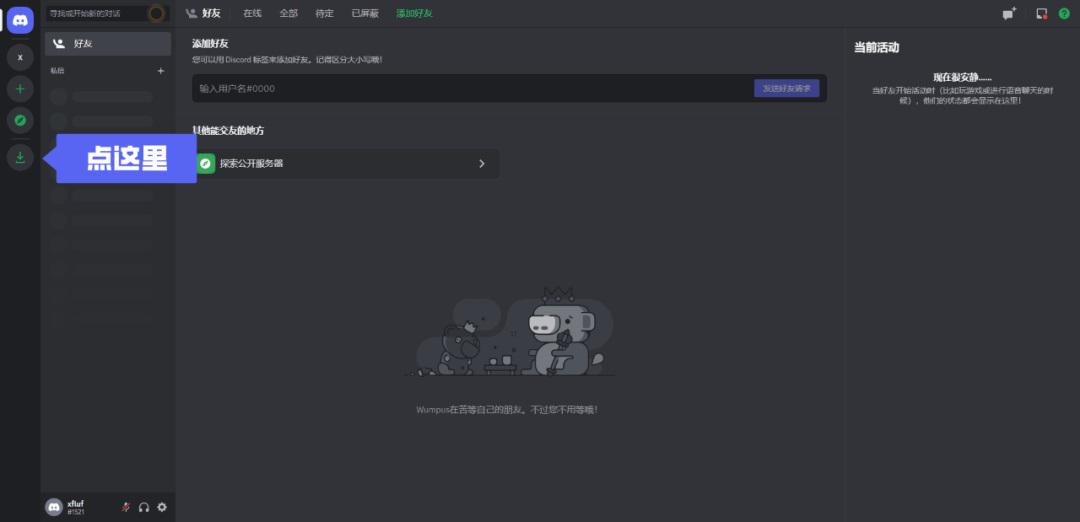
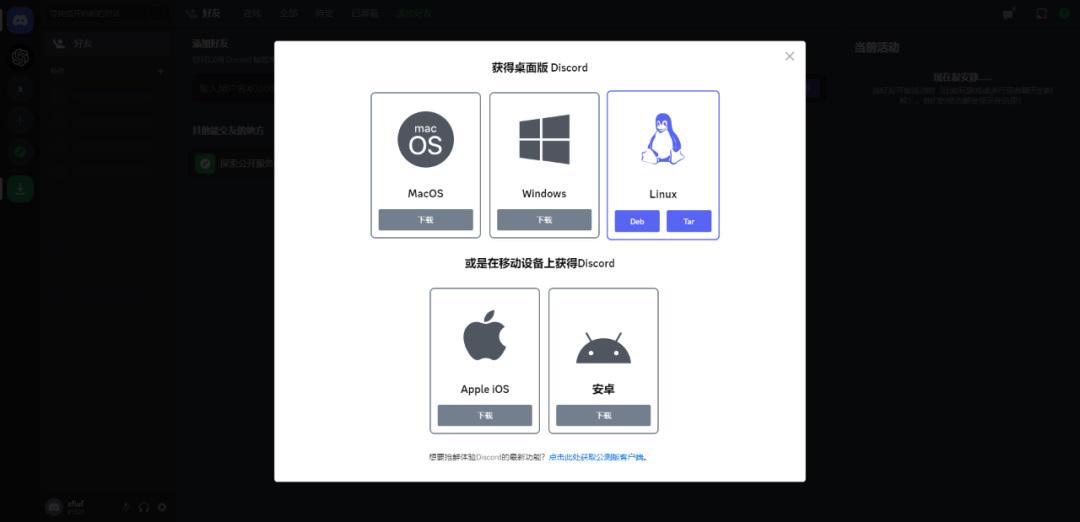
2)下载客户端
进入 Discord 默认对话页面,点击左侧导航栏的下载按钮下载客户端
3) 链接服务器
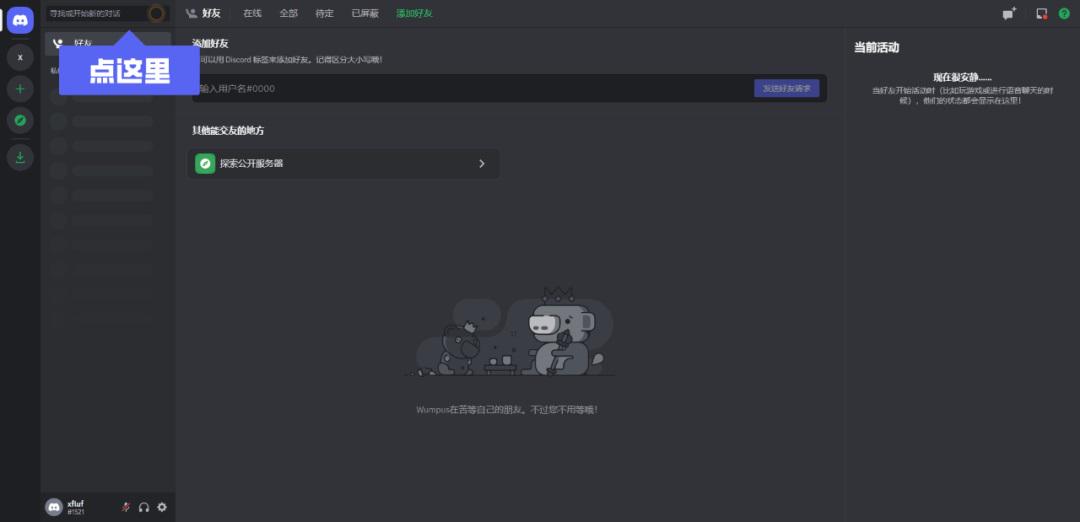
①打开软件进行登录,在默认对话页面,点击顶部的"寻找或开始新的对话"输入框,搜索"Midjourney Bot"
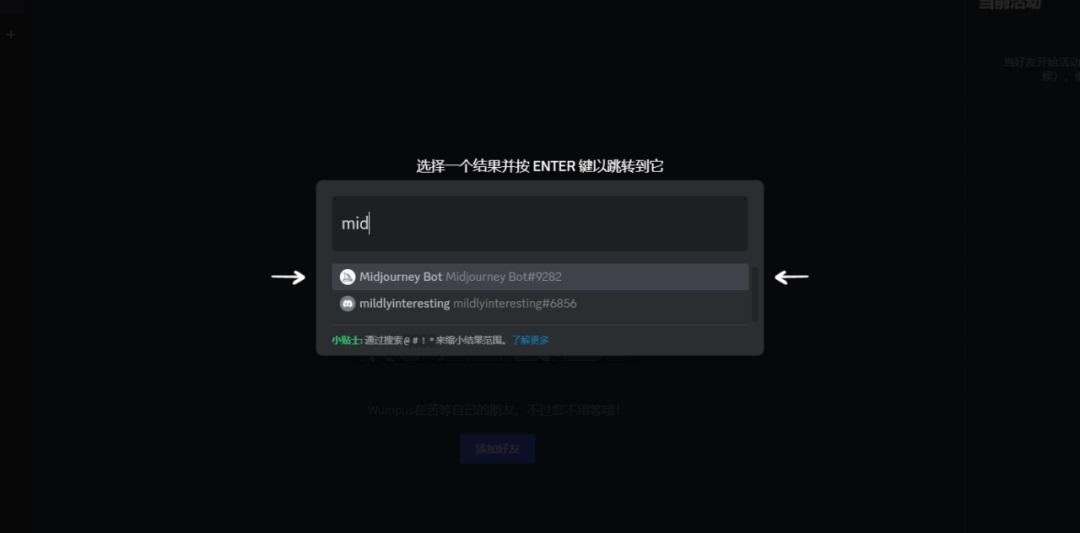
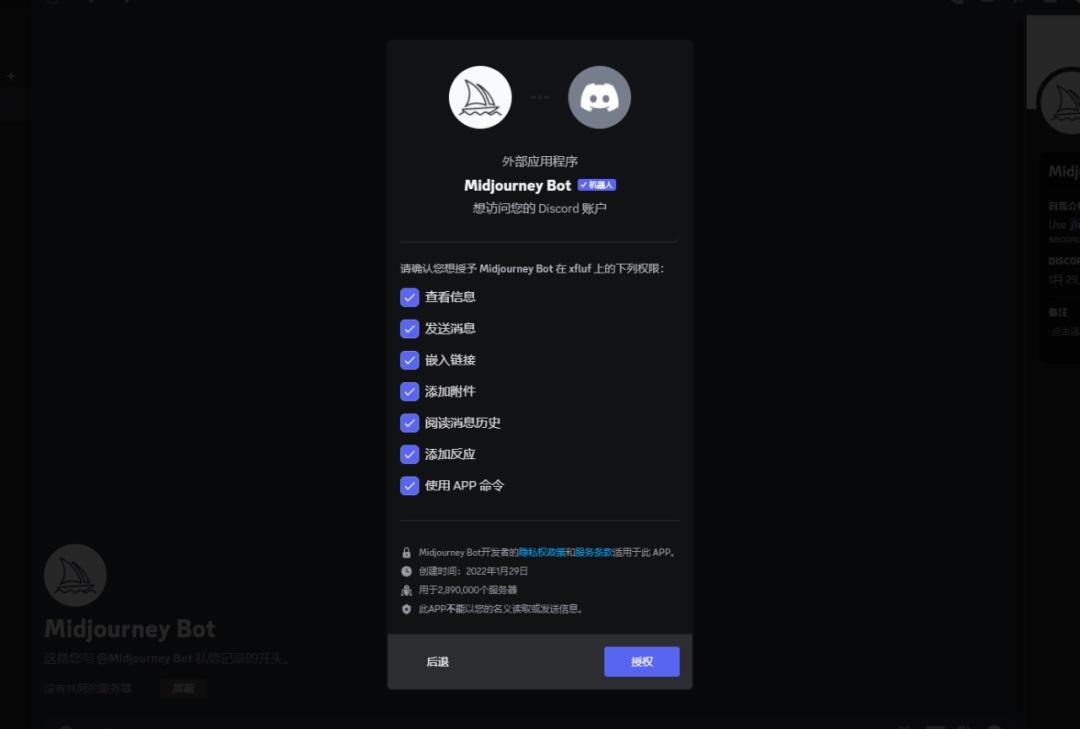
②打开与Midjourney Bot的对话: 点击顶部的名称,在弹窗里选择"添加至服务器":


③选择个人的服务器点击继续;
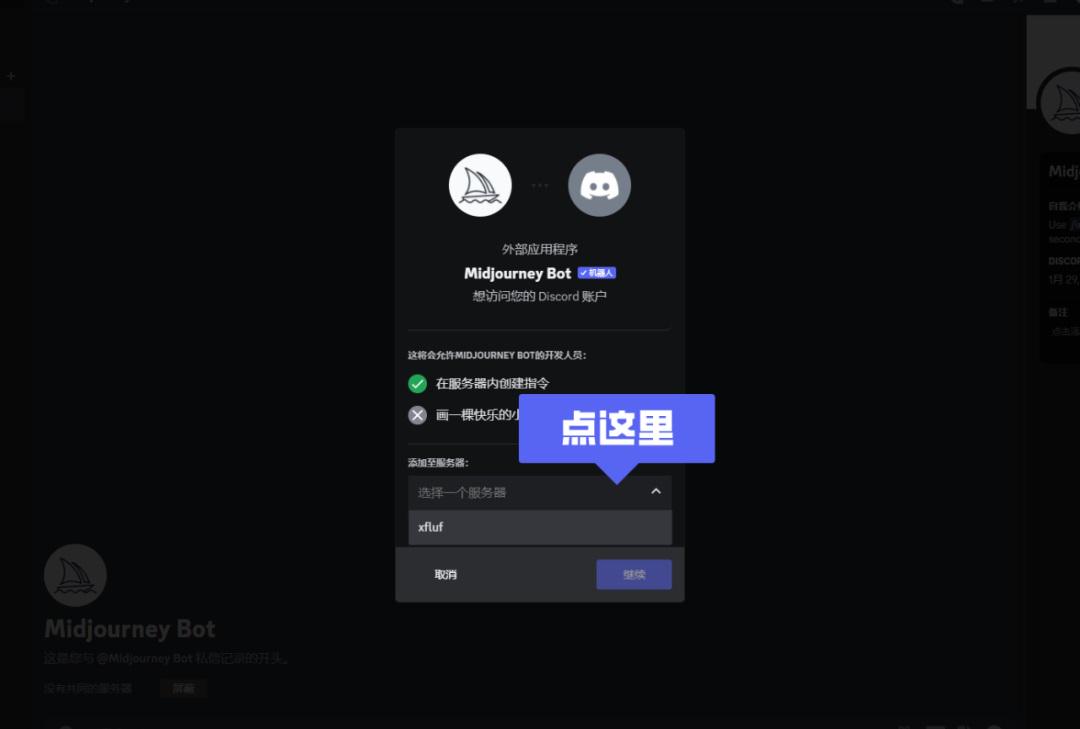
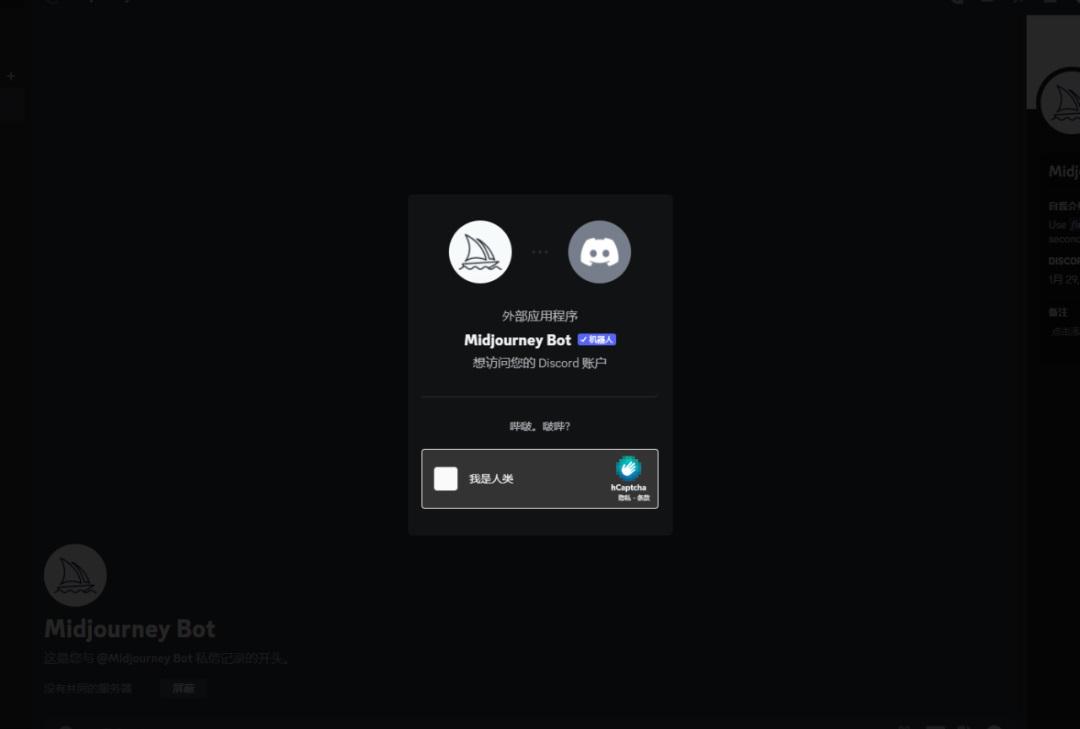
④最后点击授权并验证,这样个人服务器就和Midjourney连接上了,之后可以输入指令进行创作